|
|
Tips and Tricks
These are general instructions with tips and tricks for more advanced designs. Some of the images link to the products they portray, if you'd like to shop around for these things, which helps to support this website.
Template
Be sure to become familiar with the general recommendations for tools and materials here. One thing that wasn't mentioned is drawing. There are many resources for learning how to draw with traditional drafting tools and on a computer these days with CAD (computer-aided design). But to get started, all you really need to become familiar with is a compass and straight-edge. You don't even need a ruler or understand imperial vs. metric measurements. A couple book recommendations are made here and you can easily find an abundance of resources on the internet. Once you've drawn your pattern, this drawing becomes your template for Mandala String Art. You can also purchase templates with detailed instructions from our shop.
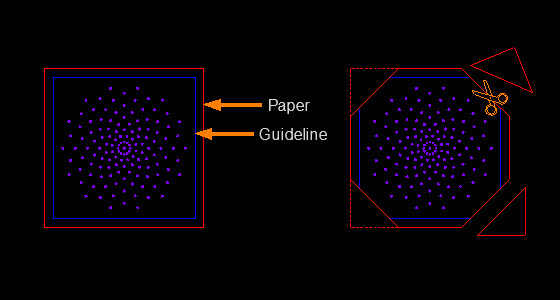
You can center your template by aligning the center point of your drawing with the exact center point of the wood, by using a straight-edge from corner-to-corner to locate it, or you can draw the shape of your wood onto your template as shown here with the pattern in the middle. Then cut off the corners.

Now you can use the lines as guidelines to align with the wood, as shown. This also allows you to tape to the wood, to secure the template in place. You also have the option of folding the paper over the corners and taping to the bottom of the wood. Painter's tape works well and is recommended.
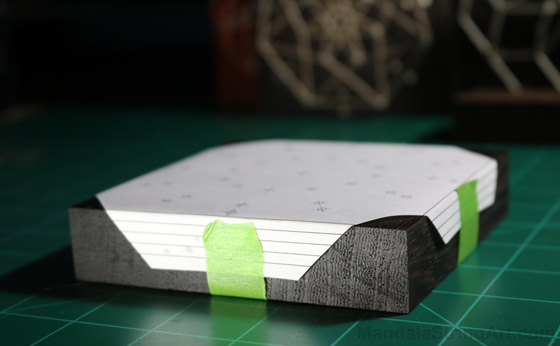
You might prefer this method if you have a concern that the tape might mess up your painted surface. You might also have to do it this way if you're using exotic wood finished with tung oil, because the tape will not stick to the wood in this case. Simply use longer lengths of tape and go all the way across to the other side and tape to the paper there.
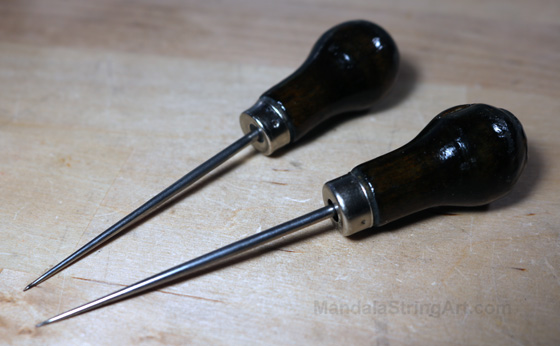
Use a sharp object, such as an awl shown here, and poke holes to mark all nail locations. Review carefully to confirm all nail locations have been marked, then remove the template. It is also possible to nail straight through the paper and rip the template out after, but you might find bits of paper stuck that are difficult to remove.
|
|
Advanced
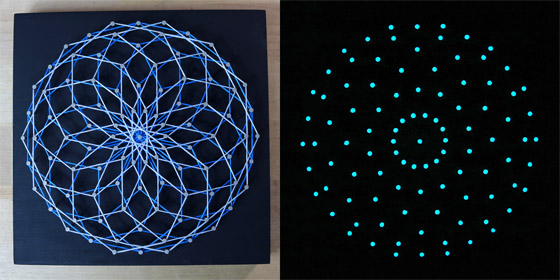
Besides string that glows under black-light, you can also paint the heads of the nails with glowing paint, or use a pigment powder with glue.
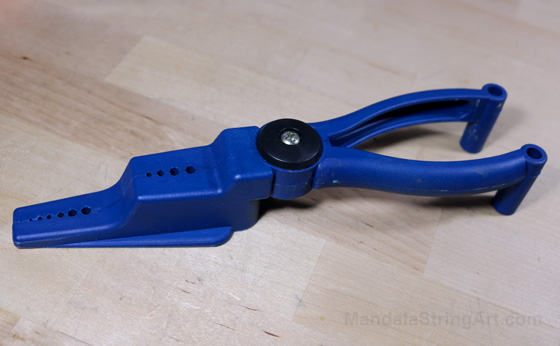
It is actually quite challenging to hammer nails perfectly straight, if not practically impossible, especially for intricate designs. You may use a special tool such as a nail holder/guide/leveler, which helps greatly... if you can find the right tool. This particular device is a bit cumbersome and impractical, especially for intricate designs. But we are developing a new nail holder and hope to bring it to market soon. In the meantime, for the prefectionist, the best option is drilling the holes.
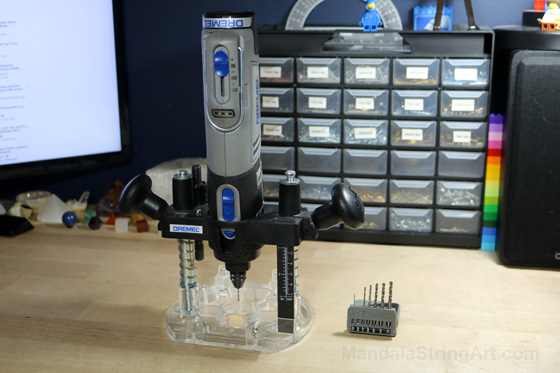
This is a hand-held drill - better known as a rotary tool, which is commonly owned by hobbyists - with a plunge router attachment. This works especially well and ensures straight nails at a consistent height. Choose a drill bit that is the same size or slightly smaller in diameter than the nails.
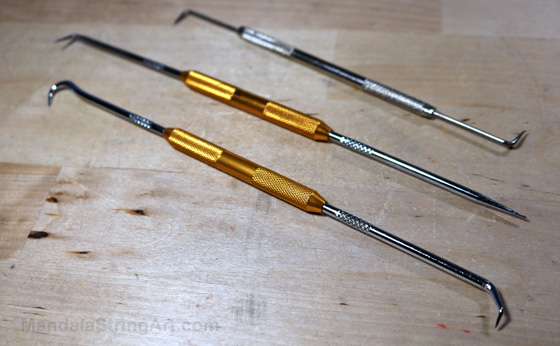
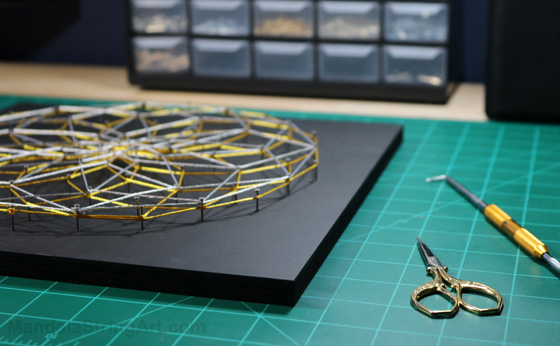
For especially intricate designs when nails are close together, you might find it difficult to loop the string around. Useful tools for guiding the string is a pick and hook set as shown here, similar to dentist's tools.
|
|
...
|
|
|
|